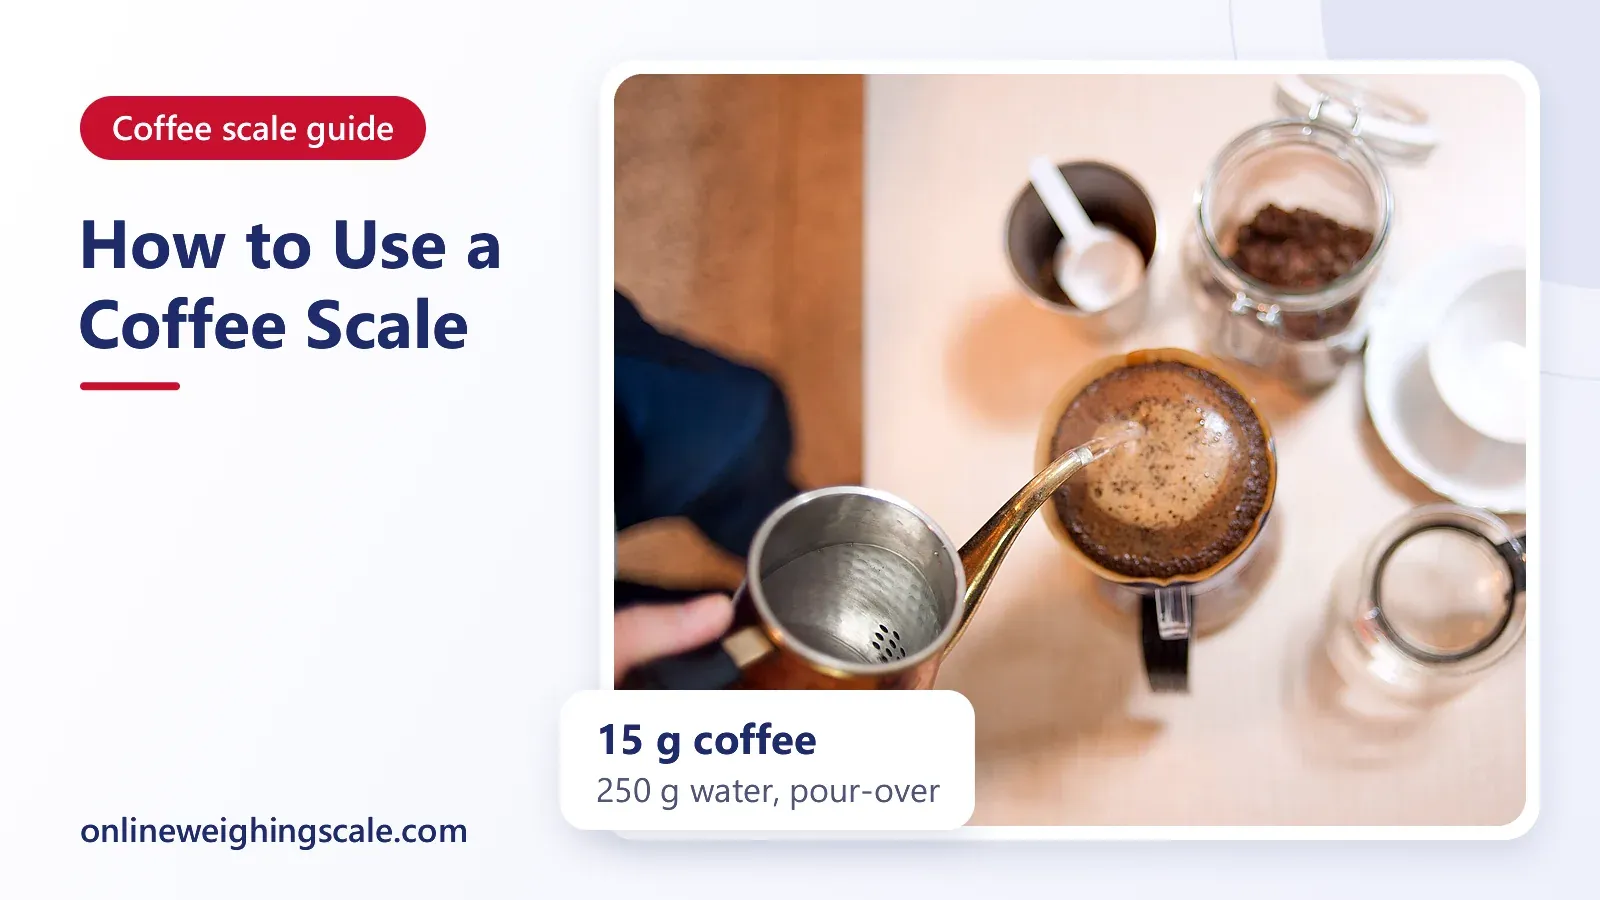
To use a coffee scale, put the cup or brewer on it, press tare, weigh the coffee, tare again, then pour water until the display shows the target weight. Most home recipes take under five minutes once you know the order, and the scale replaces scoops and guesswork with grams.
This guide walks through that order for a pour-over, a French press and an espresso shot, and then covers the small habits that make a scale reliable: where to put it, how to keep steam off it and what to do when the number drifts.
What a coffee scale does that a spoon cannot
A coffee scale weighs the dose of ground coffee and the water poured onto it, usually to 0.1 g, and most have a built-in timer. Scoops measure volume, and the same scoop holds different weights depending on roast level and grind. A scale ignores all of that and reads mass.
Brew ratios are written in weight for the same reason. The UC Davis Coffee Center food scientists express brew ratio as grams of coffee grounds per litre of water. Our post on the coffee to water ratio gives the ratio for each method, and those figures only work if you measure in grams. If you are still deciding whether your kitchen scale will do, coffee scale vs kitchen scale compares the two.
Before you start: set the scale up
- Put it on a flat, hard counter. A folded towel or a tilted tile changes the reading.
- Keep it away from the kettle spout. Steam and drips get into the keypad and the sensor area.
- Switch it on and wait for it to settle on 0.0 g with nothing on it.
- Check the batteries. The Hoffen KS-301 and KS-303 each take three AAA batteries, and a weak battery is a common reason for a display that flickers or wanders.
- Use the grams unit. The KS-301 shows g, oz and ml, the KS-303 adds lb, and a recipe in grams read in ounces will ruin a brew.
Water is easy to confuse here. A litre of water weighs about a kilogram, so one gram of water is about one millilitre, which is why recipes can quote either. Coffee grounds are a different matter, so always weigh them rather than counting spoons.
Step by step: weigh a pour-over
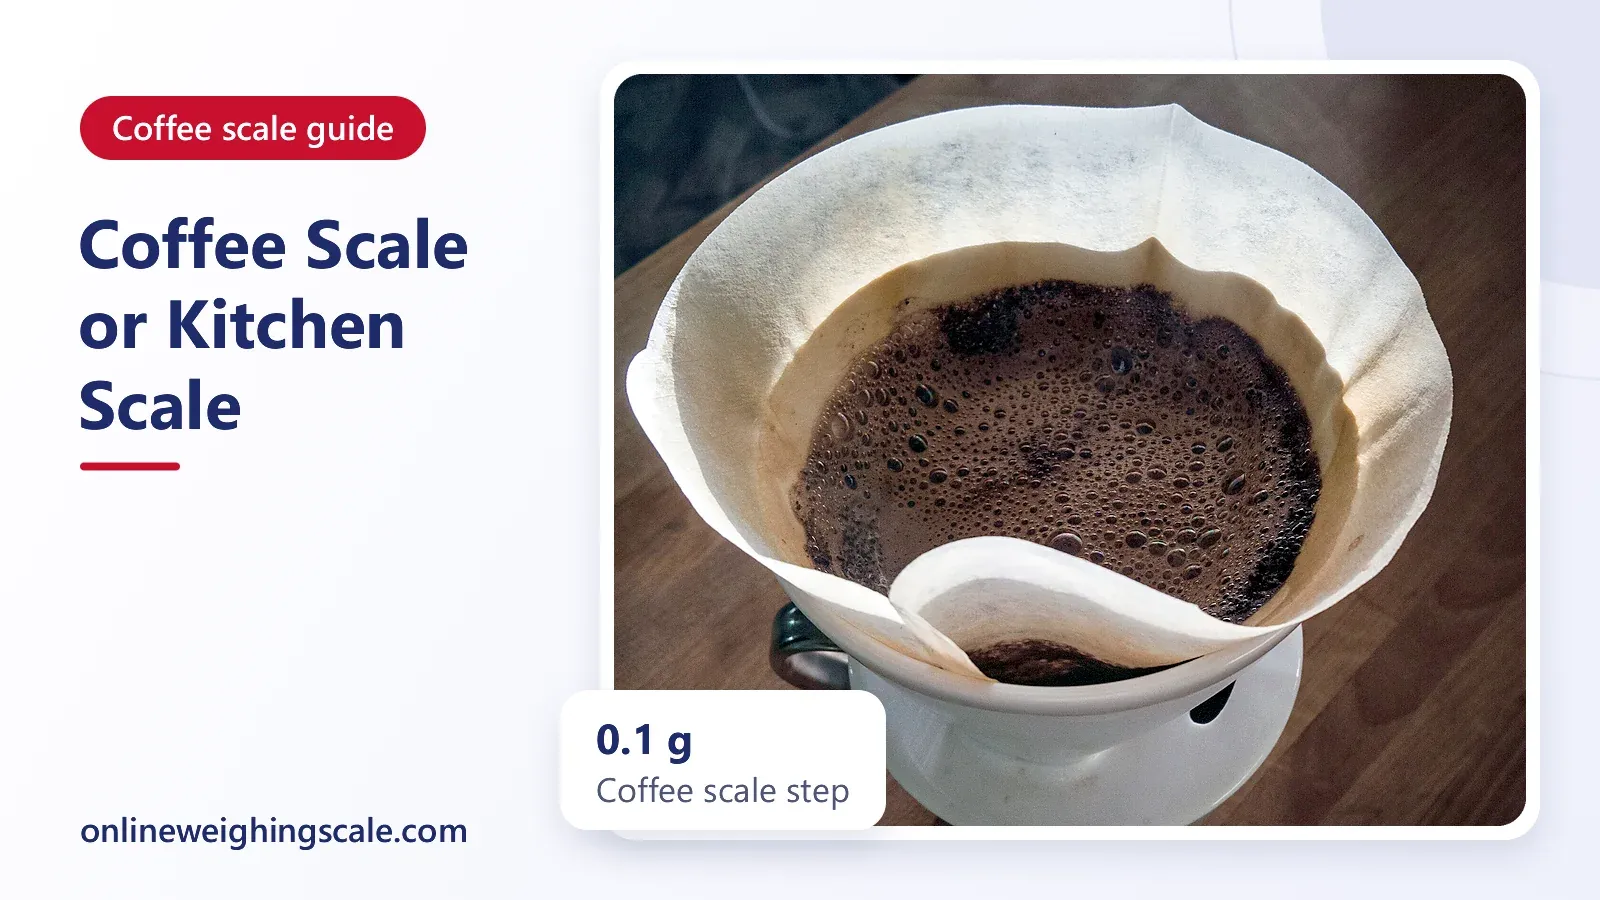
- Place the brewer and server. Set the empty cup or server on the scale, then the dripper and a rinsed paper filter on top. Rinsing the filter with hot water first removes the paper taste; empty the rinse water before you go on.
- Tare. Press the TARE or zero key so the display reads 0.0 g. The scale now ignores the weight of everything on it, which is the job of the tare device that OIML R 76-1 describes for weighing instruments. The difference between tare and zero is explained in tare vs zero.
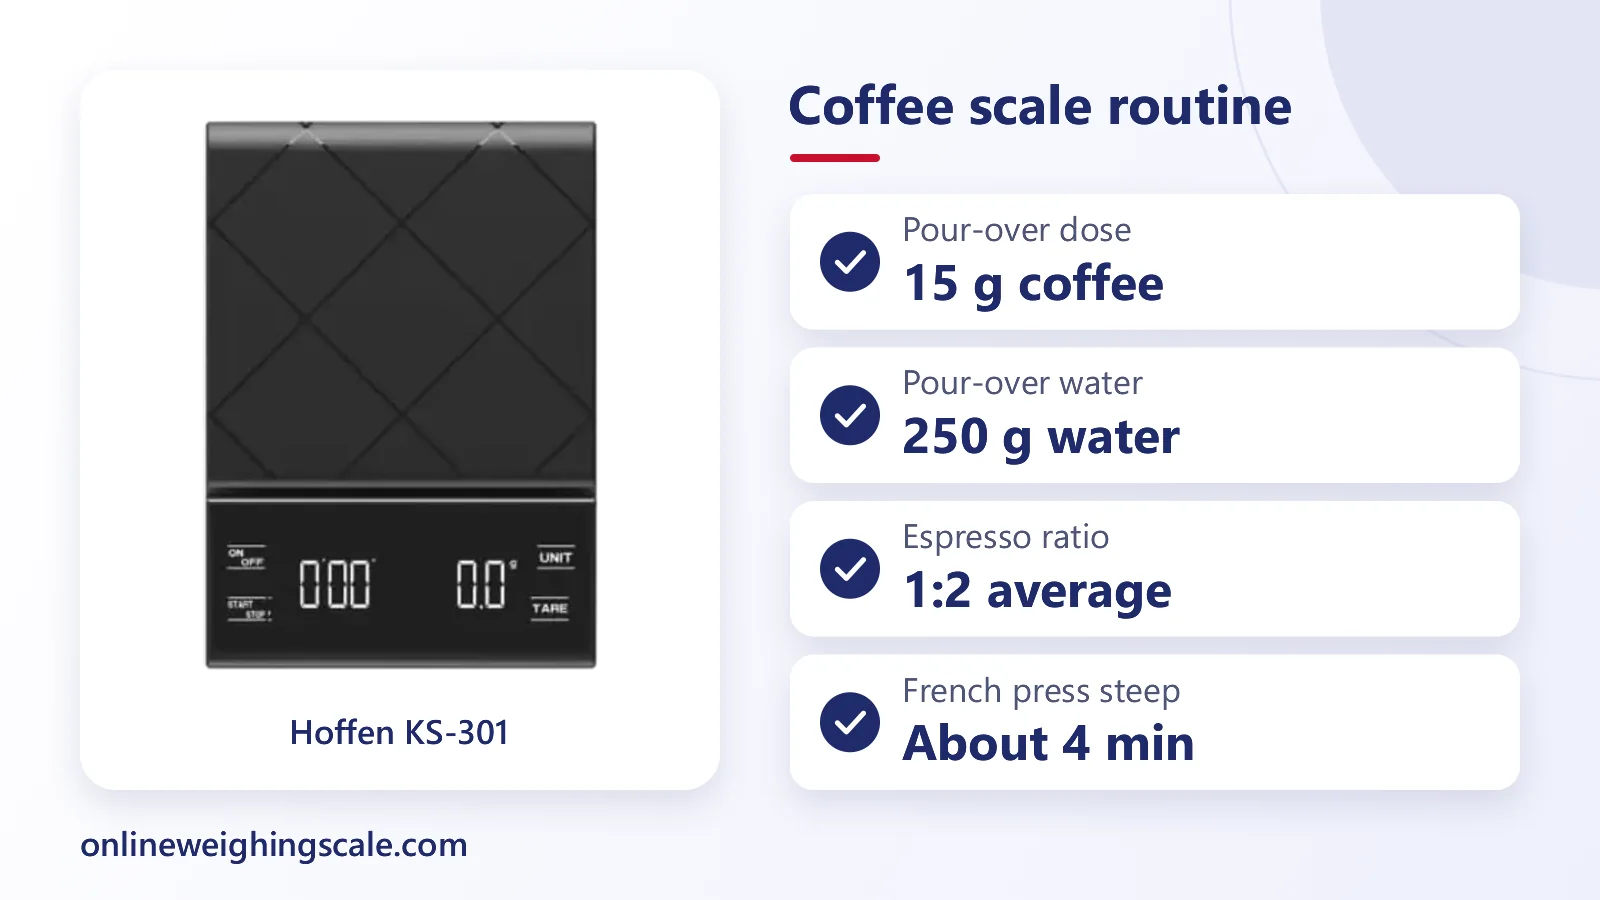
- Weigh the coffee. Add ground coffee to the filter until the display shows your dose. A common home recipe is 15 g of coffee for about 250 g of water, a practical size for one cup.
- Tare again. The display returns to 0.0 g, and now every gram you see is water.
- Start the timer and pour. Start the timer on the first pour. Wet all the grounds with a small amount of water, wait, then pour in slow circles, watching the weight climb.
- Stop at the target. For 15 g of coffee, that is about 250 g of water. Stop the pour when the display reaches it. Do not chase the last gram; a pour that overshoots by 3 g changes the cup very little.
- Read the time. When the dripper empties, note the clock. Write the dose, water weight and time down. Next brew, change only one thing.
The writing-down step is the real use of a scale. With dose, water and time recorded, a cup that tastes sour or bitter can be adjusted instead of guessed at.
The same flow suits a cup brewed in a South Indian filter. The method and its much stronger ratio are covered in the filter coffee post.
French press and immersion brews
Immersion brewing follows the same pattern with one difference: you pour all the water in one go, so you tare after the coffee and pour straight to the target. A common recipe is 30 g of coffee to 500 g of water, with a steep of about 4 minutes. Weigh the coffee into the empty press, tare, pour to 500 g, and start the timer as the water goes in.
Cold brew uses a large dose of coffee and a steep of many hours. A scale matters more here than for a hot cup, because a long steep multiplies any error in the dose. The full method is in the cold brew coffee post.
Espresso: weigh the dose in and the yield out
Espresso is the brew where a 0.1 g scale earns its place. The Specialty Coffee Association (SCA) magazine reported a 2017 survey of 275 baristas in its 25 Magazine article on defining espresso. The average brew ratio was 1:2, for example 20 g in and 40 g out, with answers ranging from 1:1.5 to 1:2.5.
The same survey found that 66 per cent of baristas used an average dose of 18 to 20 g, and that 82 per cent measured the yield by weight rather than volume. The average weighed output was 36.5 g. These are survey answers from working baristas, not a rule, so treat them as a starting point.
- Set the portafilter on the scale and press tare.
- Add ground coffee until the display shows your dose, for example 18 g.
- Tamp, lock the portafilter in the machine and put the cup on the scale under the spout.
- Press tare so the display reads 0.0 g.
- Start the shot and the timer together.
- Stop the pump when the display reaches double the dose, for 18 g in that is about 36 g out.
- Read the shot time. In the same SCA article, 51 per cent of respondents reported an average extraction time of 25 to 30 seconds.
A scale that fits an espresso cup needs a low profile and a platform wide enough to hold the cup without it touching the machine. Measure the gap between your drip tray and the machine head before you buy, because many home machines leave very little room.
Reading the timer and the display
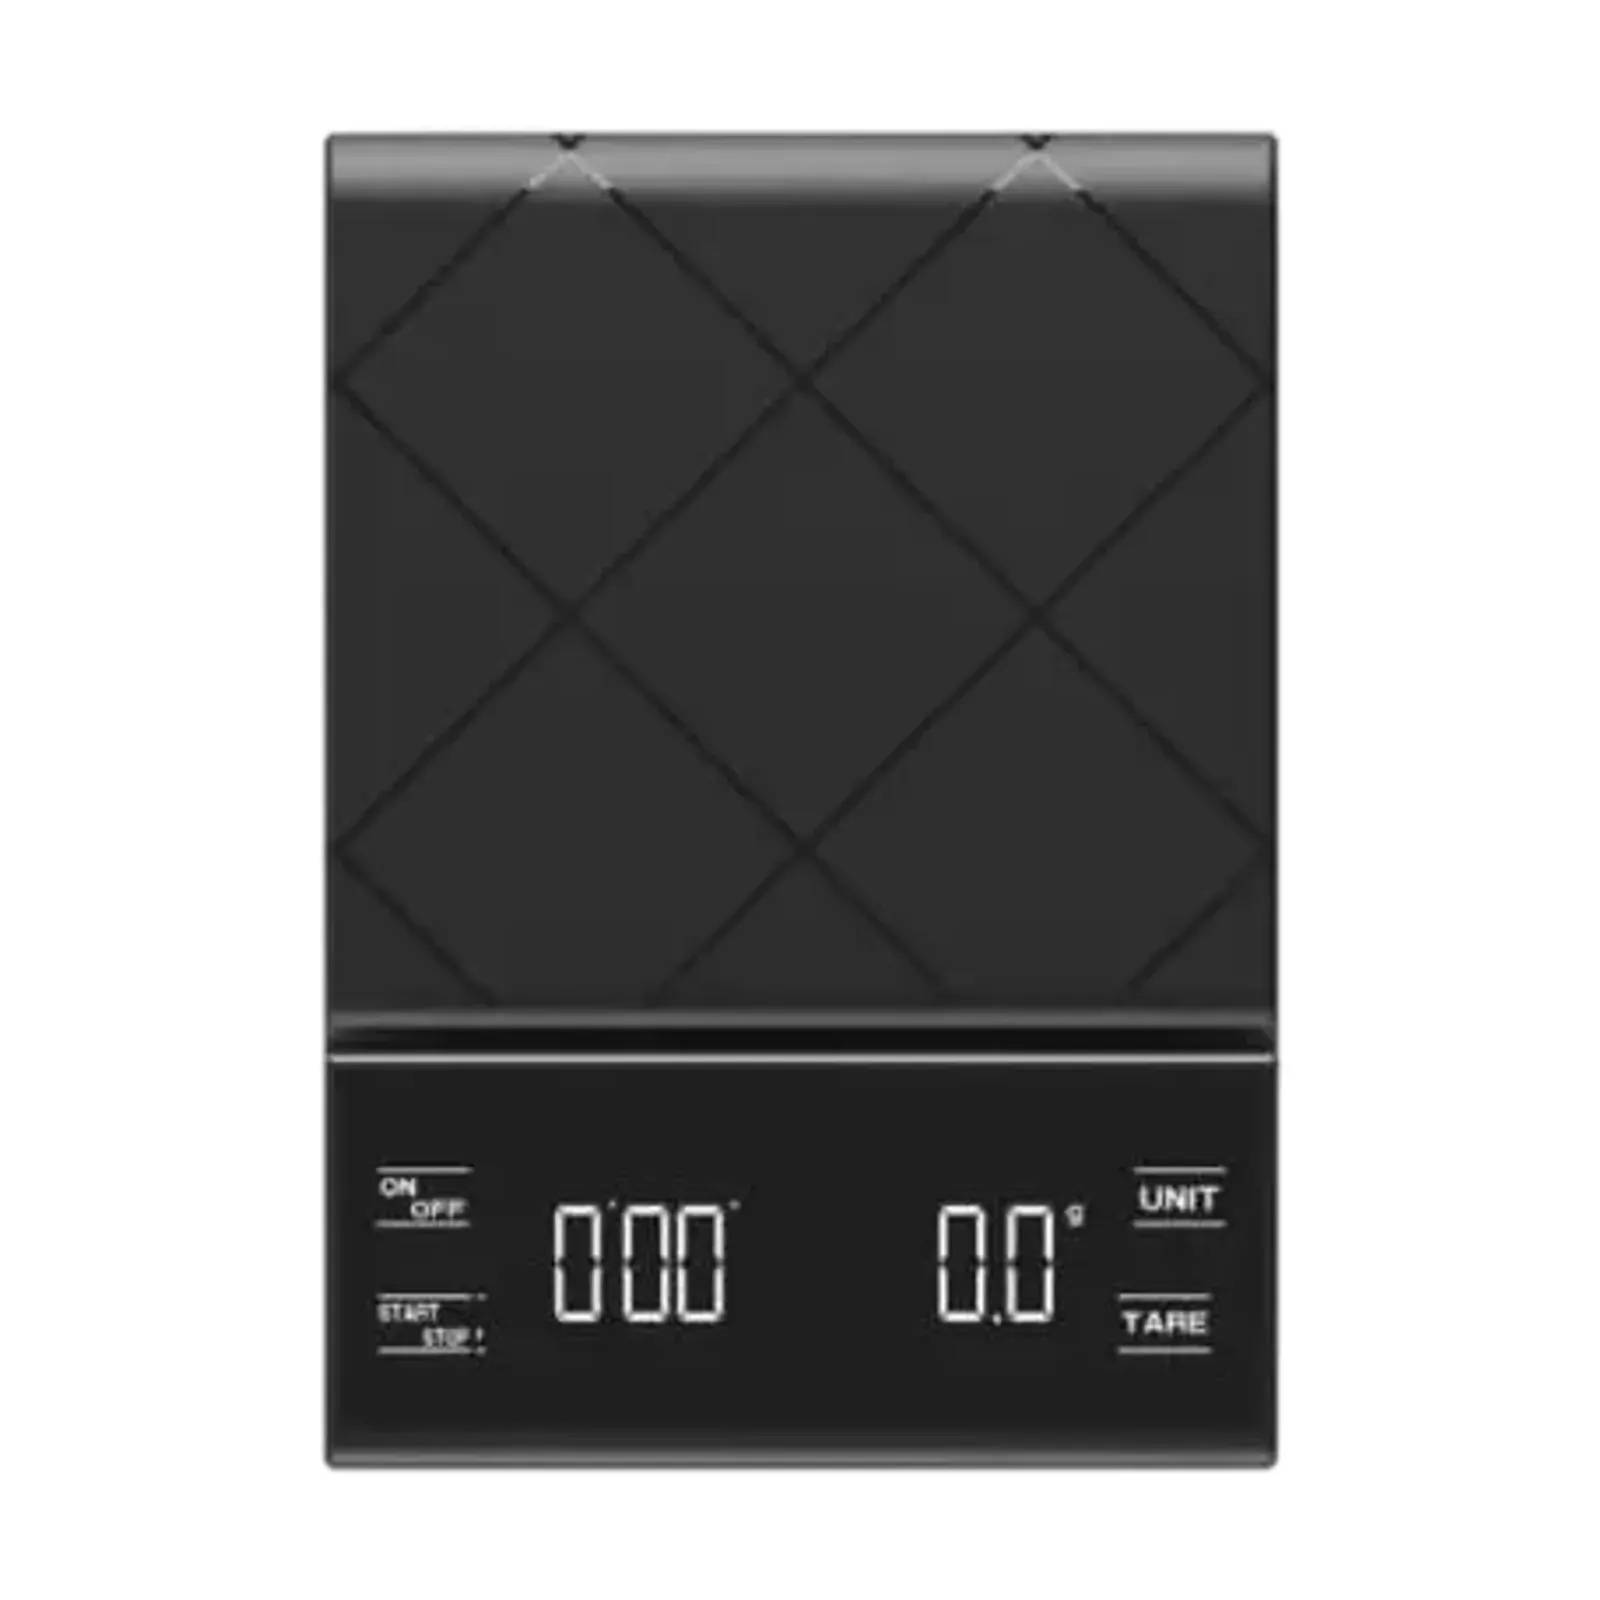
The timer on a coffee scale counts the brew time so you do not need a phone. Start it at the first pour and stop it when the water has drained or the shot has finished. Different scales start the clock with different keys, so check the manual of your own scale for its start and stop order.
Look at the weight, not the time, to decide when to stop a pour. A recipe says 250 g, and the clock only tells you whether the grind was right. If the brew ran much faster than a recipe suggests, grind finer. If it ran much slower, grind coarser. Change one thing at a time.
Common mistakes with a coffee scale
- Forgetting the second tare. If the display still shows the coffee weight when you start pouring, your water total will be wrong by the dose.
- Leaning on the scale. A hand or a kettle resting on the platform adds weight. Pour from the air.
- Wet or steamy electronics. Wipe the platform dry after each brew. A silicone mat on top of the platform keeps spills off.
- Using a scale past its capacity. Check the maximum weight. A heavy grinder or a full kettle can overload a small scale.
- Trusting a drifting number. If the reading creeps while nothing is on the scale, change the battery and move it away from draughts and fans.
To test the scale itself, put a known weight on it. A fresh, unopened packet marked with its net weight is a rough check. For the full method, see the post on coffee scale calibration and the SCA Golden Cup standard.
Which Omace coffee scales have a timer
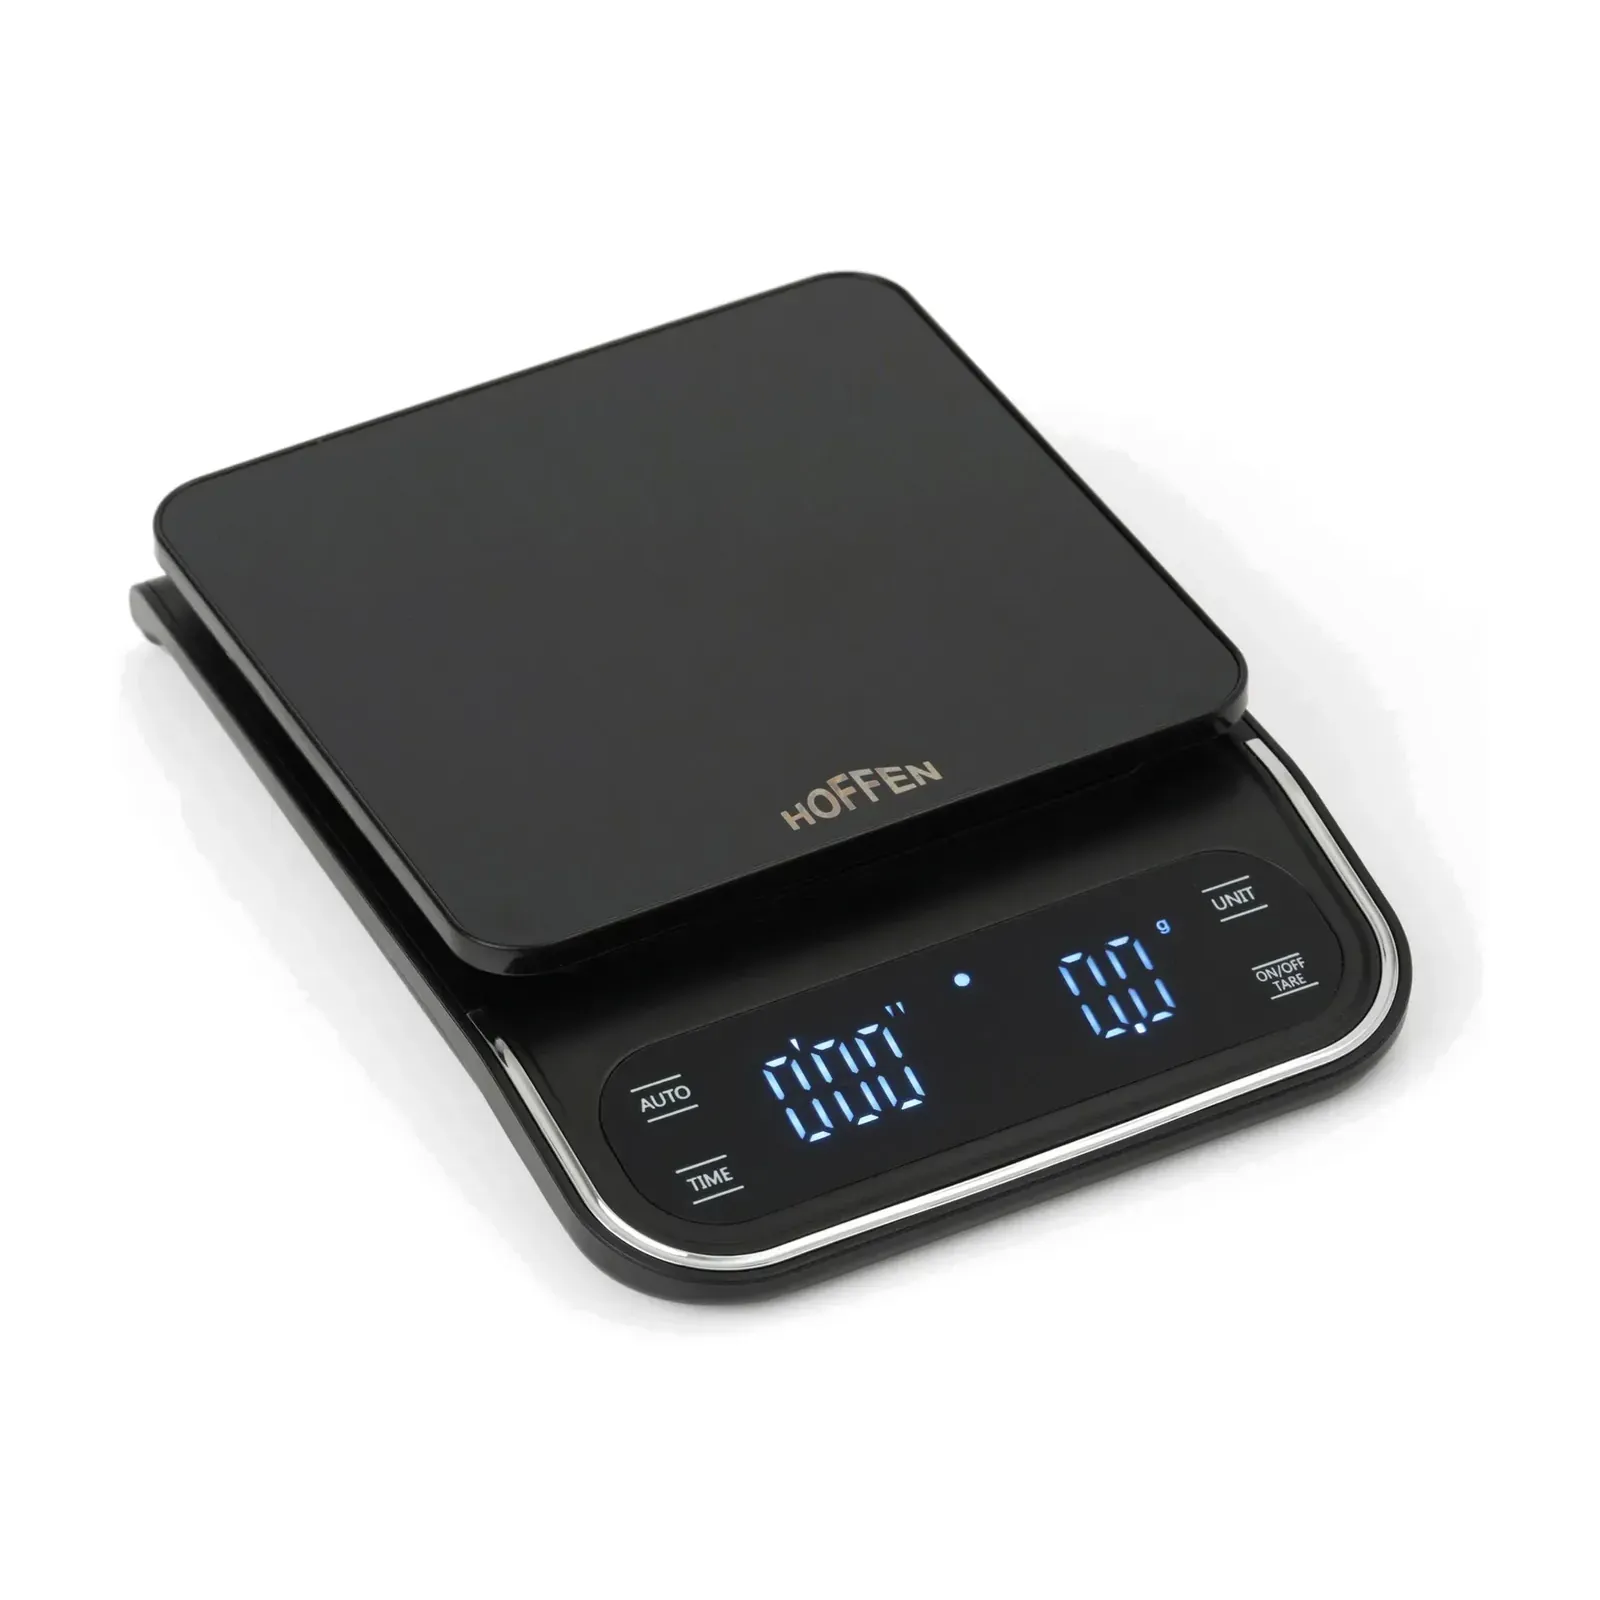
Omace Brands Private Limited, a scale maker in Bagru, Jaipur since 1994, lists two coffee scales under its Hoffen brand on the coffee scale page. Both read to 0.1 g, have a 3 kg capacity and include a timer.
| Model | Capacity and step | Timer | Price today |
|---|---|---|---|
| Hoffen KS-301 | 3 kg x 0.1 g | Yes | ₹1575 |
| Hoffen KS-303 | 3 kg x 0.1 g | Yes | ₹1785 |
The KS-301 counts up to 99 minutes 59 seconds and has an anti-slip rubber mat. The KS-303 has touch keys marked AUTO, TIME, UNIT and ON/OFF-TARE and a 145 × 145 mm stainless steel platform. Both give overload and low-battery signs and switch off by themselves. If one of these scales ever reads wrong, Omace Brands Private Limited factory calibrates its scales and replaces one under warranty if it reads wrong, and the warranty covers manufacturing defects for 2 years. A long press of TARE opens calibration mode on some Omace digital scales and a long press of the M key on others, and the steps are in the calibration guide.
A simple routine to start tomorrow morning
Pick one brew method and one recipe. Weigh the coffee, tare, pour to the target, read the clock, and write all three numbers on a card. Repeat for a week, changing only the grind. By the end you will have a cup you like and a recipe you can hand to anyone in the house, in grams and seconds rather than spoons and hope.